English
 русский
 Français
 Español
 Deutsch
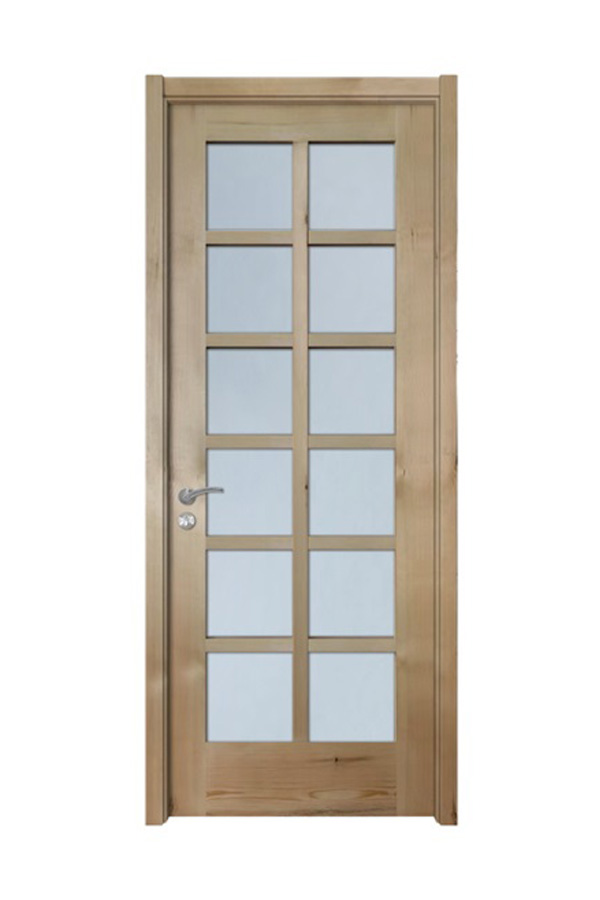
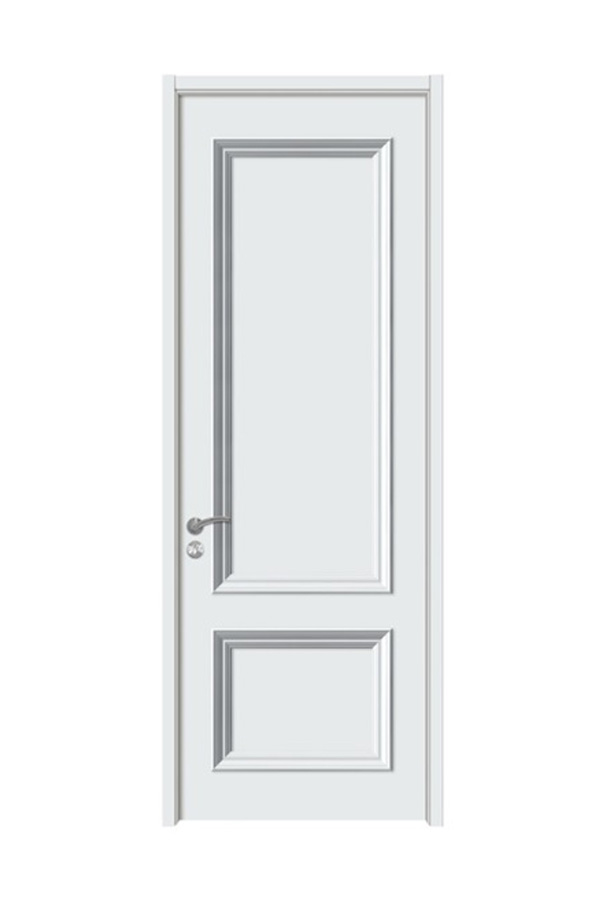
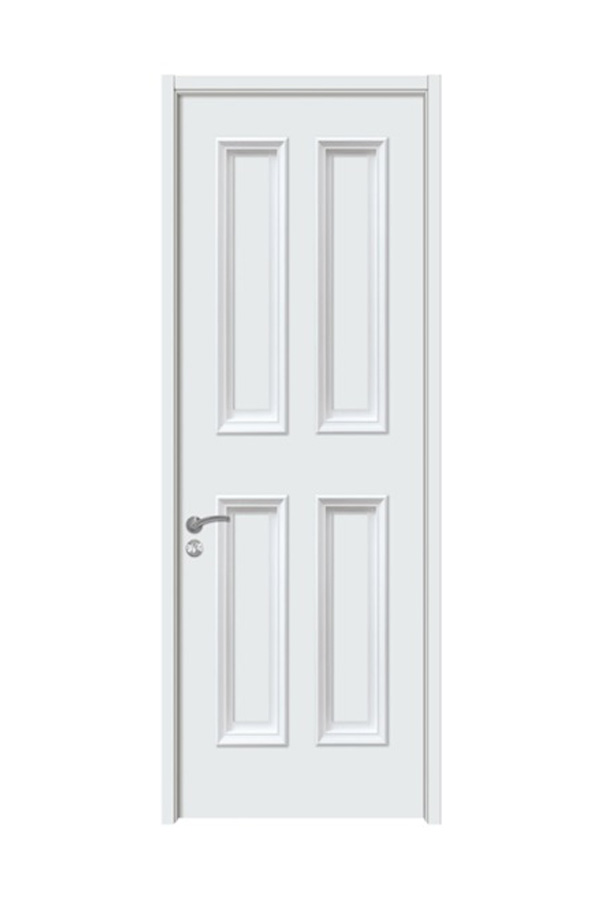
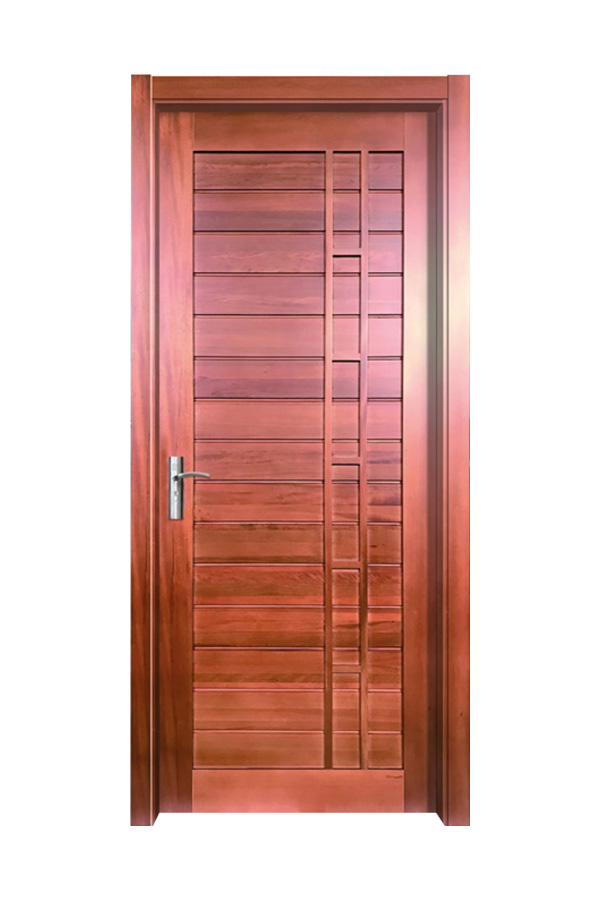
Factory-finished doors such as a White Primed Shaker Door are widely used in interior projects because they already arrive with a sealed base coat. However, the surface is not considered fully finished. A Sliding Shaker Door or hinged variant still requires proper surface preparation before final painting, and light sanding plays an important role in achieving a professional coating result.
From our company’s production and finishing experience, the question is less about “whether sanding is needed” and more about “how much sanding is appropriate.”
Factory primer is not a final finish
Primed doors are coated with a factory-applied primer layer that improves paint adhesion and reduces absorption. This layer is not designed to be the final protective surface.
- Primer is usually water-based and porous
- Surface may show micro-roughness from manufacturing
- Transport and storage can create slight texture variation
- Final paint bonding depends on surface smoothness
Industry installation guidance confirms that primed doors still require light sanding before painting to ensure proper adhesion and finish quality
Why extra sanding may be required
Extra sanding is not always heavy or aggressive. The purpose is surface refinement.
- Removes raised fibers from MDF or wood grain edges
- Levels primer dust nibs and uneven spray patterns
- Improves paint flow and reduces brush marks
- Helps prevent “orange peel” texture after topcoat
In Shaker-style construction, flat panels and sharp internal edges make imperfections more visible compared with flat slab doors.
Recommended sanding approach (technical standard)
Based on common manufacturing and installation practices, the sanding process should remain controlled:
- grit range: 220–320 for light sanding
- use sanding block or soft foam pad for flat areas
- detail sponge for inner Shaker grooves
- avoid sanding through primer layer
- final surface should feel smooth, not polished
Professional woodworking guides often recommend fine grit sanding and dust removal before applying topcoat paint
Where sanding matters on Shaker doors
Shaker door structure includes rails, stiles, and recessed panels, which creates multiple edge zones.
Key focus areas:
- inner frame corners (highest risk of uneven paint buildup)
- panel recess edges (easy to overcoat or miss)
- stile-to-rail joints (may show glue or seam lines)
- top and bottom edges (often overlooked during finishing)
Even a small surface defect becomes visible after glossy or semi-gloss coating is applied.
Product considerations from our company's experience
Our company manufactures engineered interior doors designed for stable finishing performance. Products such as:
- engineered MDF Shaker panels
- pre-primed interior doors
- sliding door systems including Shaker-style panels
are all designed with controlled primer thickness to reduce sanding workload, but not eliminate it.
Key production parameters include:
- primer thickness: typically 80–120 microns
- surface roughness target: ≤ 10–15 μm Ra
- moisture content control: 6–10%
- edge sealing: required on all exposed surfaces
Even with this controlled process, final sanding is still necessary before topcoat application.
Common mistakes during sanding
Many finishing issues are not caused by the door itself but by incorrect sanding technique.
- using coarse grit (causes visible scratches under paint)
- over-sanding edges (rounds off Shaker profile detail)
- skipping dust removal (causes adhesion failure)
- sanding uneven pressure across panels
Excessive sanding can damage the primer layer and expose raw substrate, especially on MDF-based doors.
Does every primed door need sanding?
Not all situations require the same level of sanding intensity:
- factory double-primed doors → very light scuff sanding
- single-primed doors → light full surface sanding required
- re-coated or repaired doors → targeted sanding and leveling
Even when the surface looks smooth, microscopic texture still affects final paint performance.
Why sanding improves final paint performance
Proper sanding directly affects durability and appearance:
- improves paint adhesion strength
- reduces peeling risk over time
- creates smoother light reflection
- enhances color uniformity across panels
Without sanding, even high-quality paint may show uneven sheen or texture variation.