English
 русский
 Français
 Español
 Deutsch
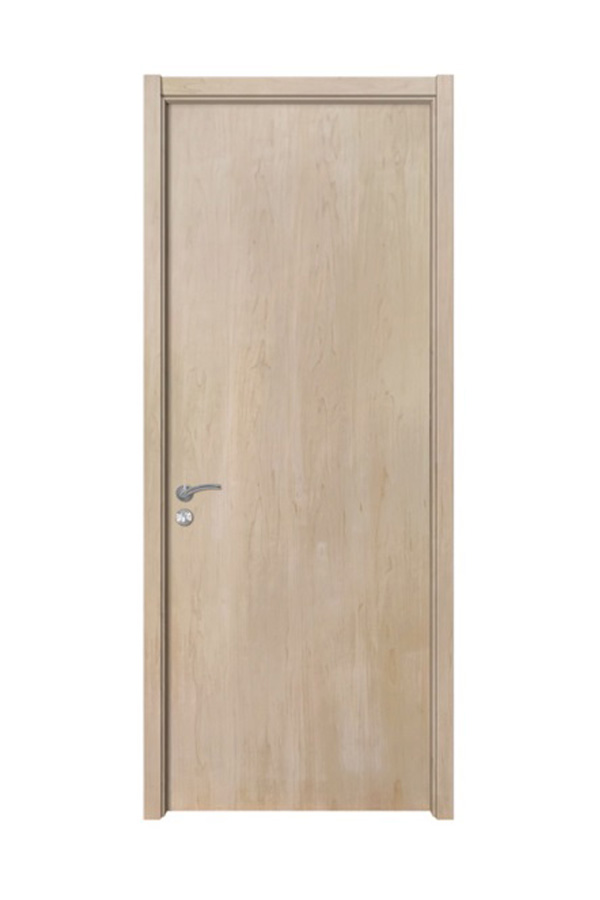
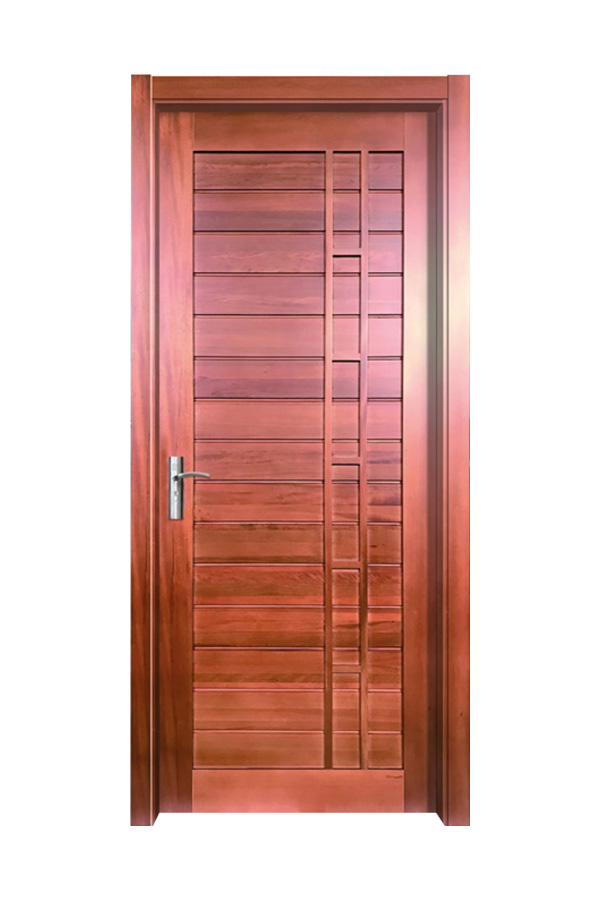
Installing moulding around your doors can dramatically upgrade the look of your interior. Whether you're working on a house moulding door or preparing to finish interior painting doors, the right moulding installation makes a world of difference.
Planning & Preparation
1. Choose the Right Moulding Profile
Select a moulding style that harmonizes with your overall interior design (trim, baseboards, ceiling moulding).
2. Measure Accurately
Measure the height and width of your door frame precisely.
Account for corner mitres (i.e. 45° cuts) — so your moulding pieces will align neatly.
Label each piece (top, sides) to avoid confusion during cutting.
3. Select Materials
Use stable wood or MDF moulding that’s dimensionally consistent.
Choose moulding material that takes paint or stain similarly to your door material, so your final finish is uniform.
Choose nails, adhesive, and filler compatible with both moulding and door surfaces.
4. Dry Fit Before Final Attachment
Always dry-fit (without glue or nails) the moulding pieces to check mitre angles, alignment, and gaps between pieces. Use painter’s tape to hold them in place temporarily and make adjustments if needed.
Step-by-Step Installation
Step 1: Cut Mitres & Bevels
Use a miter saw to cut moulding ends at 45° for inside corners. Check that opposite legs of moulding pieces align. If walls or door frames are not perfectly plumb, you may need to scribe or slightly adjust cuts.
Step 2: Attach Vertical (Side) Pieces First
Position each side piece so it sits flush with the door edge.
Use a combination of strong adhesive and finishing nails. Nail into the door frame or stud behind (if accessible).
Use a level to ensure the vertical pieces are plumb.
Step 3: Install the Head (Top) Piece
The head moulding (across the top) connects the two side pieces with mitred joints.
Use adhesive and nails, pushing ends snugly into side pieces.
Check for alignment and levelness.
Step 4: Fill Gaps, Nail Holes, and Sand
Use a wood filler or caulk to fill small gaps between moulding joints, or between moulding and wall/door frame.
Once filler is dry, sand lightly for smooth transitions.
Ensure the surface is ready for priming or painting.
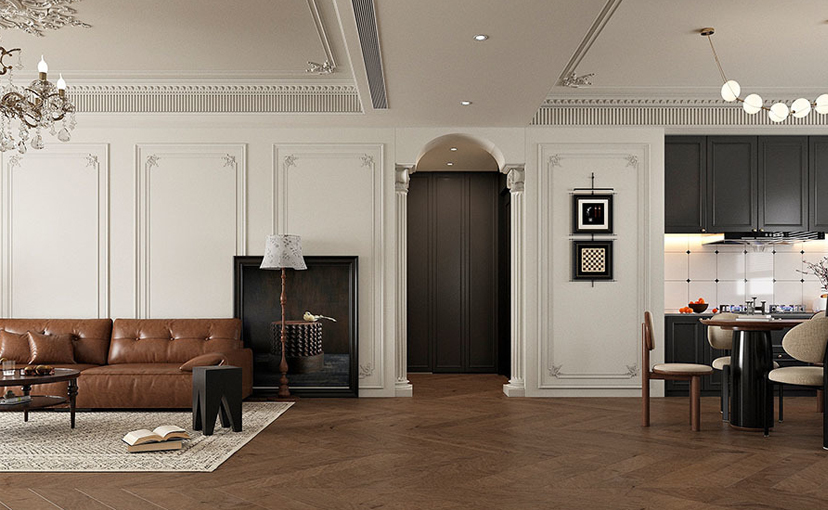
Integrating with Interior Painting Doors
Now that the moulding is installed, here's how to combine with interior painting doors for a seamless finish.
1. Primer Before Painting
Apply a suitable primer over the moulding, especially at joints and filler areas. This ensures better paint adhesion and reduces grain absorption.
2. Order of Painting
It often works ideal to paint moulding in place (after installation) especially if the door remains installed.
If you're removing the door, you can paint both the door and moulding before reinstallation, then do touch-ups.
Many painters recommend cutting in the moulding edges (i.e. paint moulding edges) then paint flat surfaces.
3. Brush vs Roller
Use an angled brush to paint moulding profiles and recesses.
Use a small foam or short-nap roller for flat surfaces to reduce brush marks.
Many DIY guides highlight that panel edges, trim, and moulding benefit from brush work, while larger flat areas can be rolled.
4. Finish & Sheen Selection
A semi-gloss or satin finish is often recommended for doors and moulding to resist scuffs and allow cleaning.
You may choose the same paint sheen for moulding and door or slightly differentiate (e.g. moulding slightly glossier) to subtly highlight detail.
5. Touch-Ups
After installation and primary painting, inspect joints and corners.